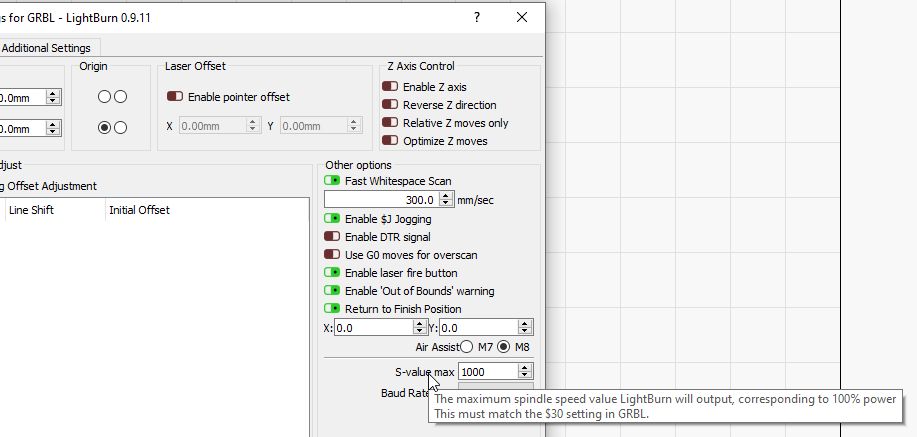


Even if you’ve bought a pre-made laser or CNC machine, you’re still likely to benefit from fine-tuning the settings for your materials or needs. And if you’re building your own laser or CNC, you’ll need to know all about controller settings. The best case scenario is that you can adjust the settings you need in a nice user interface, without learning manual configuration via a G-code sender. Checking the box actually sends settings to your controller in the background, user friendly right ? Some of the easy to use interface for laser control in Lightburn software An example is shown in the image below, from Lightburn software, where the Laser mode enable can be set by clicking a checkbox. So why don’t all machine settings just get shown in a nice user interface ? Well, there’s quite a few settings, and not all of them are relevant to each application and every user, so designers only make interfaces for the minimum. If you need to change a setting that’s not in the user interface, you’ll need to use the command line to send $ settings to your controller. G-code controllers normally just receive movement directions, such as go to x position 150 at full speed is G0 X150 ( note there is no F or feed rate parm, it assumes the fastest feed rate e.g. So the $ symbol indicates to the controller that the instructions relate to settings, and are not an instruction to move, burn or cut anything. The command line is circled and highlighted in the image below. It’s where you can click in the space and type in settings (or even directions such as G0 X150 directly). The Lightburn interface showing command line Useful $ settings The command-line is available in any G-code sender software. The $$ command reads all your machine’s current settings.


 0 kommentar(er)
